
An electric rooflight mechanism asks for very little, and almost all of what it asks for is cleaning rather than adjustment. Two visits a year with a cloth, a soft brush and ten minutes will keep a chain actuator and its sash working for the life of the glazing. What shortens that life is not neglect of the motor, which is sealed and largely beyond your reach anyway, but grit in the chain track, a gasket that has been scrubbed with the wrong thing, and drainage channels round the frame silting up with moss and leaves. This page sets out what to look at, when, what to use, and just as importantly what to leave alone. The brief version is on what maintenance does an electric rooflight need.
A twice-yearly rhythm that actually gets done
Two rounds a year is the right frequency for a domestic unit, and the timing matters more than the interval. Late spring, once the trees have finished dropping blossom and before the unit starts being opened daily, and early autumn, before the leaves come down and the weather closes in.
The spring round is the fuller one: gasket, chain, sensor pad, filter, drainage, fixings, and a full cycle test. The autumn round is lighter and focused on drainage and the sensor pad, which are the two things that stop working when debris arrives.
Ten to fifteen minutes per unit covers both. The reason to fix it to something in the calendar is that a task with no date attached does not happen, and the failures that follow are all slow, cumulative ones that a cloth would have prevented.
Isolating before you touch anything
Before working on the sash or the mechanism, take the unit out of service. On most systems the practical method is to switch off the circuit at the isolator or the consumer unit, so an accidental press on a remote in another room cannot start the sash moving while your hands are near the chain.
On solar units there is no mains to isolate, and the manufacturer’s documentation will describe how to put the unit into a service state. Some ranges have a dedicated mode for this, and it is worth finding out what yours does before you need it.
Anything beyond switching off at an isolator, and any work on the transformer, the fixed wiring or the circuit itself, is for a qualified electrician. Cleaning a sash and a chain is householder work. Opening a power supply unit is not.
The chain, the rod and what to look for
The visible mechanism on a pitched roof window is usually a chain that extends from a housing on the sash head, or a rigid rod on some designs. It is the part that collects dust, and it is the part whose condition tells you most.
Run the unit to full open with the power on, then isolate, and look along the extended chain. You want clean, bright links moving freely, no stiff spots, no sideways play at the connection bracket, and no build-up of grey paste where old grease and dust have combined. Wipe the links with a dry lint-free cloth, working along their length, and get the housing mouth clean where the chain enters it.
What you are looking for as a fault is a chain that has started to rasp or that hesitates at one point in its travel. That is grit, and it is worth dealing with before it wears the link faces.
Lubrication: less than people expect, and not silicone spray on the chain
The instinct is to spray something on it. Resist that instinct until you have read what the manufacturer says about the specific actuator, because several ranges specify their chains as running dry or pre-lubricated for life, and adding oil to them creates exactly the paste described above.
Where lubrication is called for, it is a small amount of the product the manufacturer names, applied to the point they name, and wiped back so nothing is standing on the surface. A dry PTFE product is often the right sort of thing on a moving pivot because it does not hold dust. General purpose penetrating spray is not, and it will migrate onto the gasket and the glass.
Hinges on the sash are a different matter and generally do take a light application at their pivots, a drop rather than a spray, wiped clean afterwards. Never put anything oily on the gasket, on the glass, or on the rain sensor pad.
Cleaning the gasket without shortening its life
The perimeter gasket is the flexible strip the sash closes onto, and it is the single component most often damaged by well-intentioned cleaning. It wants warm water, a drop of washing-up liquid, and a soft cloth. Nothing else.
Solvents, white spirit, kitchen cream cleaners, bleach-based sprays and anything abrasive all attack the rubber, hardening it or scoring the face that has to make contact. A gasket that has gone hard and shiny will not compress properly, and a sash that no longer compresses its gasket evenly is an air path and eventually a water path.
While you are there, check the gasket by eye and by finger. It should be supple, continuous, and sitting properly in its groove all the way round including at the corners, which is where it lifts first. Most ranges sell replacement gasket sets, and renewing one is straightforward work that restores the sash rather than disguising a problem.
The rain sensor pad and what dulls it
The sensor is a small pad on the outside of the frame or sash, and it works by detecting moisture landing on its surface. It fails quietly, by becoming so coated with dust, pollen, bird droppings or a film of grime that water no longer wets it in the way it expects.
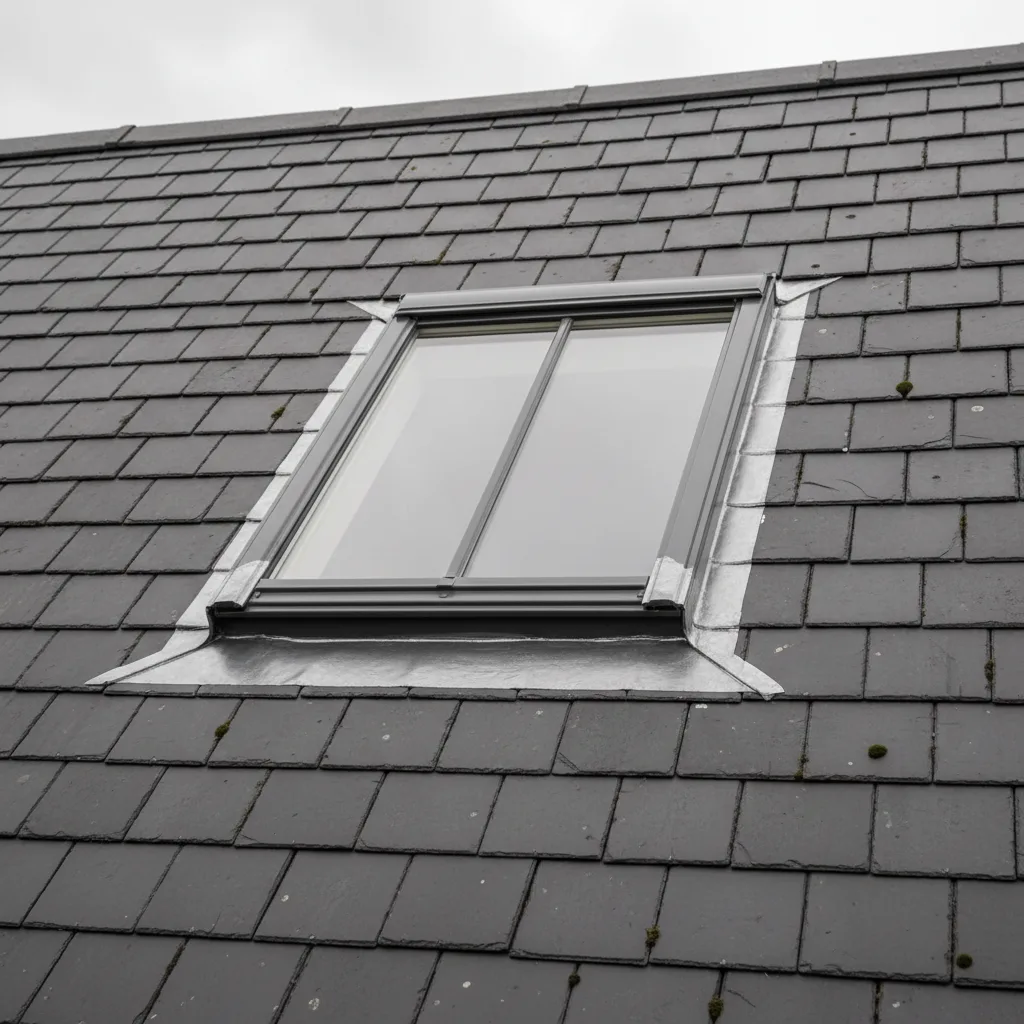
Clean it with a damp cloth and plain water at both rounds, and more often if the unit sits under trees. Do not use solvent, do not scrub it, and do not put anything protective or water-repellent on it, since a coating that makes water bead and run off is precisely the opposite of what the pad needs.
Test it afterwards. With the unit open, a few drops of water flicked onto the pad should start the closing cycle within a few seconds. If nothing happens, the pad is dirty, the sensor has lost power, or the function has been switched off at the control. What the sensor can and cannot manage is covered on rain sensors and what they actually do.
Drainage channels round the frame
Every roof window frame has drainage paths designed to take water that gets past the outer edge and return it to the roof covering below. Those paths are small, they sit at the head and sides of the frame, and they silt up.
On a pitched slope the head of the unit is where debris collects, because everything running down the roof arrives there first. Moss from the tiles above, leaf fragments, silt washed off the covering and the occasional bird’s nesting material all end up in the same place.
Clear it by hand and with a soft brush, from inside where the sash rotation allows it, or from outside where the unit can be reached safely. If you cannot reach it safely, do not attempt it. This is the item most worth building into a scheduled visit on a high or awkward unit, because a blocked head drain is how water ends up somewhere it was never meant to be.
The ventilation flap filter
Many roof windows carry a background ventilation flap in the sash head with a small filter behind it, and it is comfortably the most forgotten component on the unit. It is designed to be taken out, rinsed and put back.
Open the sash, find the flap at the head, and release the filter as the manufacturer’s instructions describe. Rinse it in warm water, let it dry fully, and replace it. On a unit near a road or in a kitchen it will be visibly dark with dust, which is the point.
A blocked filter does not stop the mechanism working, so nothing draws attention to it. What it does is quietly remove the background ventilation the unit was supposed to be providing when shut, which then shows up as condensation on cold mornings and gets blamed on the glazing.
Remote batteries and controls that drift
Handheld remotes and wireless wall controls run on cells, and they give warning by working intermittently or only from close range before they stop. Change them annually as a matter of course rather than waiting, and use the type specified rather than a rechargeable substitute with a lower voltage.
If a control has stopped answering, work through it in order: cells, then whether the unit has power at all, then whether the pairing has been lost. Re-pairing is a documented procedure on every mainstream system and takes a couple of minutes with the instructions to hand.
Keep those instructions. A control system whose pairing procedure is unknown becomes a genuine problem years later, and the sheet that came in the box is the cheapest thing in the whole installation to hold on to. Control options are covered on remote controls, wall switches and smart home links.
Noises that mean something, and noises that do not
A chain actuator makes a low mechanical hum with a faint clicking as the links feed, and that is normal from new. Learn what your unit sounds like when it is well, because the diagnostic value is entirely in the change.

A rasping or grinding note usually means grit in the chain track. A rhythmic knock at one point in the travel suggests something is fouling: a blind bracket, an insect screen, a curtain pole. A motor that runs but the sash does not move means the chain has come off its connection or the drive has failed. A motor that hesitates and then continues is often a supply issue rather than a mechanism issue.
Noise levels in general, and what is reasonable to expect at night in a bedroom, are dealt with on are electric rooflights noisy when opening.
A sash that no longer sits square
Over years, a sash can settle so that it no longer meets the frame evenly. The symptom is a draught along one edge, a whistle in wind, or a visible difference in the gap between sash and frame from one side to the other.
Most ranges provide adjustment at the hinges and at the actuator end stops, and the correct sequence is to get the sash sitting square on its hinges first and only then reset the closing position of the actuator. Doing it the other way round makes the motor pull a misaligned sash tighter on one side, which loads the gasket unevenly and wears it out at that corner.
This is the point at which most householders should stop and call somebody. The adjustment itself is not difficult, but doing it in the wrong order makes the problem worse and it is easy to overtighten an actuator against a sash that was never going to close square.
Condensation on the inside of the glass is not a fault
Water forming on the room side of the pane on a cold morning is the glass being colder than the dew point of the air in the room. It is a ventilation and humidity matter, not a mechanism matter, and it happens on perfectly good units.
What to do about it is ventilate: use the background flap, run the extract where there is one, and open the sash briefly and fully after showering or cooking rather than leaving it ajar for hours. The physics behind short, high-volume ventilation is set out on opening rooflights for the stack effect.
Misting between the panes is a different thing entirely and does indicate a failed sealed unit. That is a glazing replacement rather than anything a maintenance routine will influence, and no amount of attention to the mechanism will affect it.
Fixings, brackets and the quiet check
Once a year, with the unit isolated and the sash open, look at the points where things are screwed to other things. The actuator housing on the sash head, the bracket at the far end of the chain, the hinge screws, and any bracket carrying a blind.
You are checking for movement rather than for tightness. A screw that has worked loose in timber shows as a bracket that shifts under hand pressure, and it wants attention before the mechanism starts loading it off-axis. Where a screw has lost its grip in the timber, forcing it tighter is not the answer.
Also look at the sash where the actuator pulls on it. On an older unit that has been cycling for a decade, that is the area that shows wear first, and finding it early is the difference between an adjustment and a new sash.
Cleaning the outside face safely, or not at all
A centre-pivot roof window rotates through 180 degrees and locks in a cleaning position, bringing the outside of the glass indoors. On a powered unit the actuator is disengaged for that, following the manufacturer’s method, and the sash is secured in the cleaning catch before anybody puts a hand on the outer face.

A top-hung unit may or may not offer the same rotation as a secondary mode. Where it does not, the outside face has to be cleaned from outside, which on any unit above ground floor level is not householder work.
The blunt advice for high and stairwell units is to leave the outside alone and schedule it with somebody who has proper access equipment. Cleaning glass is not worth a ladder on a stair flight. The wider case for planning access at height is on electric rooflights out of reach and why they suit.
Winter, and the things to leave completely alone
Cold weather brings the one situation where the correct maintenance action is to do nothing. Do not operate a powered rooflight that has snow lying on it or ice around the sash. The actuator will try to push, the sash is bonded to the frame by ice or loaded by snow, and something will give before the motor does.
Wait for it to clear naturally. Chipping ice off a sash damages the gasket and the frame finish, and hot water on cold glass is a poor idea for obvious reasons.
Where a unit is on a schedule or an automatic function, it is worth knowing how to suspend that during a freeze. A timed night purge that tries to open an iced sash at two in the morning is a mechanism working against a physical obstruction while nobody is watching.
Keeping a record, and knowing who to call
Write down three things and keep them somewhere findable: the type designation and size code from the data plate on the sash head, the date the unit was installed, and the date any battery was last changed. Those three facts answer almost every question that will ever be asked about the unit, and reconstructing them later means somebody up a ladder with a torch.
Beyond that, know where the line is. Cleaning, filters, gaskets, sensor pads, drainage and remote cells are householder work. Hinge and end-stop adjustment, chain replacement and actuator work are for somebody who has done it before. Anything touching the transformer, the isolator or the fixed wiring is for a qualified electrician, and we work alongside one rather than presenting that as our own trade.
Where a unit has reached the point that attention no longer holds it, the answer within our scope is replacement rather than keeping a tired assembly going. We install and replace rooflights, and our ten-year workmanship guarantee covers the four details that decide whether an installation stays dry: upstand height, falls, flashing laps, and where the covering terminates against the frame. If that is the conversation, you get a range by email and a fixed price after a survey.
Four steps, no surprises
Survey
We look at the roof, the covering and the slope before we say anything about price.
Specification
The right unit and glazing for that roof and that orientation, in plain terms.
Fixed quote
Written, itemised and firm. The number does not move once work starts.
Install
Opening formed, unit set and weathered, covering made good. Notification is ours.
Helpful reading on this
Costs, comparisons and the questions we are asked most.
Tell us about your roof
We start with the building, the covering and the slope. Then we tell you what will suit it, and what it will cost, as a fixed written number.
- Surveyed before it is priced
- 10-year workmanship guarantee
- Building Control notification handled
- New installations and replacements