
The kerb under a roof lantern is almost always built by the main contractor or the builder doing the extension, not by the company supplying the lantern and not usually by the company fitting it. That single sentence explains most of the trouble we see. The kerb decides the height of the glass above the roof, the line the covering terminates on, whether cold air tracks around the perimeter, and whether water can reach the underside of the frame. It is a builder’s item designed to a glazing company’s dimensions, and nobody owns both halves of it unless somebody is made to.
The kerb described in parts
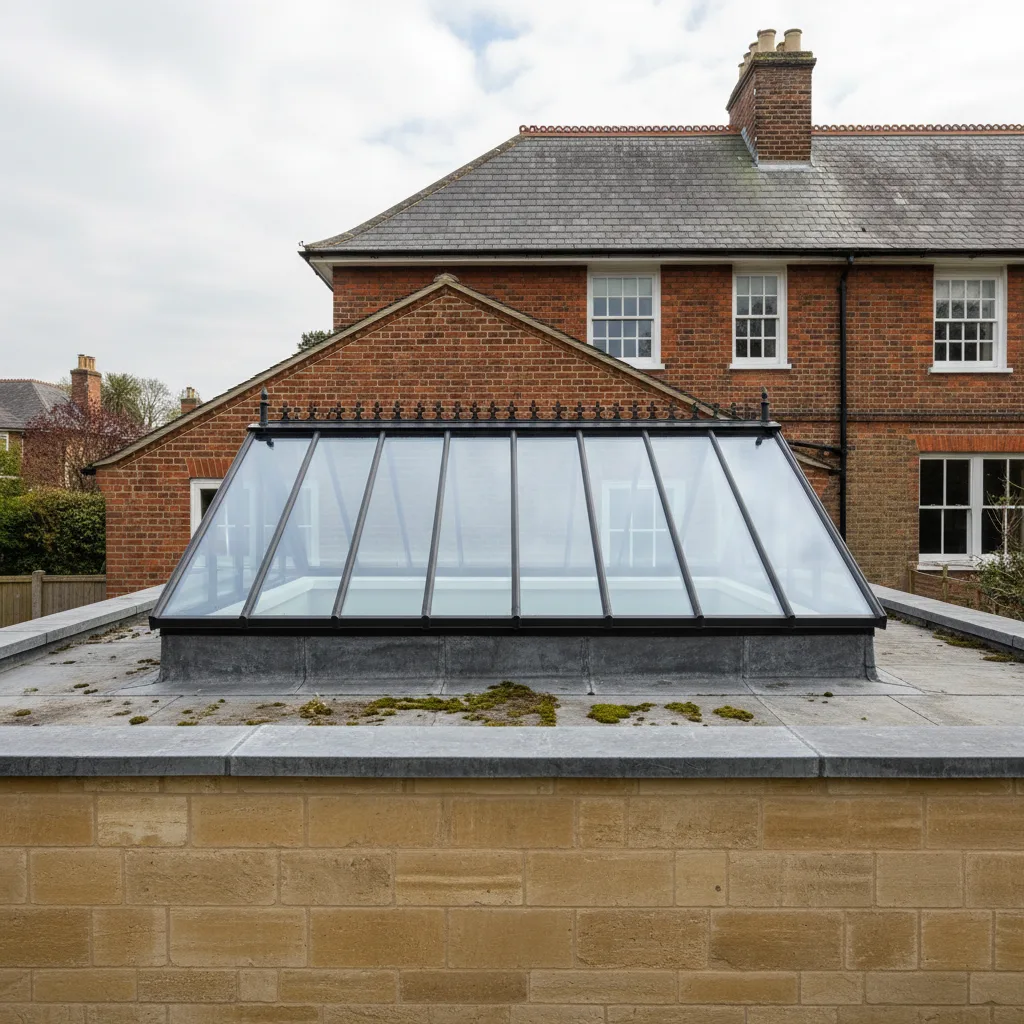
Strip away the language and a kerb is a rectangular box, open in the middle, standing proud of the flat roof deck. It has a structural core, usually timber. It has insulation on its outside face. It has the roof covering dressed up its outer face and turned over its top. It has a flat, level, square top surface that the lantern sits on. And it has an inside face that ends up as part of the ceiling reveal.
Five elements, and four of them are invisible once the lantern is on. That is the reason we guarantee our own workmanship for ten years: the parts that decide whether a lantern behaves are the parts nobody can inspect afterwards.
The three ways one gets built
The first and most common is a timber kerb built on site. Softwood or plywood box sections are constructed off the trimmed opening in the deck, fixed down, then insulated and covered. Cheap, flexible, and entirely dependent on the carpenter.
The second is a kerb formed as part of the roof structure itself, where the joists are stopped short and short studs continue up from the trimmers. This is stronger and better tied down, and it needs to be drawn at design stage rather than improvised.
The third is a factory-made insulated kerb bought as a unit, delivered as a rigid box in matching dimensions, and simply set down and fixed. More money, no site variation, and the insulation is continuous by design rather than by intention.
Who owns it in a normal contract
On a typical Oxford extension the chain runs: architect draws a lantern on the roof plan, builder prices the extension including a roof opening, homeowner buys the lantern from a supplier, someone fits it. The kerb sits between the second and third of those and belongs to none of them by default.
Ask three questions in writing before the roof goes on. Who is building the kerb. To what external dimensions, and taken from whose drawing. To what height above the finished roof surface, insulated how. If the answers do not come back in a form you could hold someone to, the kerb is nobody’s item and it will be built by whoever is on site the day the deck is closed.
Height, and the surface it is measured from
The working minimum is 150mm from the finished roof surface to the top of the kerb. Not from the deck. Not from the top of the insulation. From the surface the water will actually run across when the roof is complete.
That distinction matters because a warm roof build-up adds real thickness. A deck, then 120mm or 150mm of insulation board, then the membrane, and the finished surface can sit 170mm above the structural deck. A kerb built 150mm above the deck ends up around 20mm above the water. That is not a kerb, it is a lip.
Where the roof is small, sheltered and laid to a good fall, 150mm is comfortable. Where the roof is wide, exposed, or drains towards the lantern, we would rather see 200mm. The extra height costs a few pounds of timber and is invisible from inside.
The dimension the manufacturer actually means
Lantern suppliers quote a size. Whether that size is the external face of the kerb, the internal daylight opening, or the frame itself varies between manufacturers, and getting it wrong by 90mm is a lantern that does not fit.
The convention on most aluminium lanterns is that the quoted size is the external kerb size, and the lantern sits over the kerb like a lid, with its skirt covering the top corner. Some timber systems quote the internal opening instead. Confirm which, in writing, before the carpenter cuts anything. Then confirm it again when the order acknowledgement arrives.
Square, level and free of twist
A lantern is a rigid manufactured frame. It will not accommodate a kerb that is 15mm out of square across the diagonal, and forcing it produces a frame under permanent stress with unequal gaps around the glass.
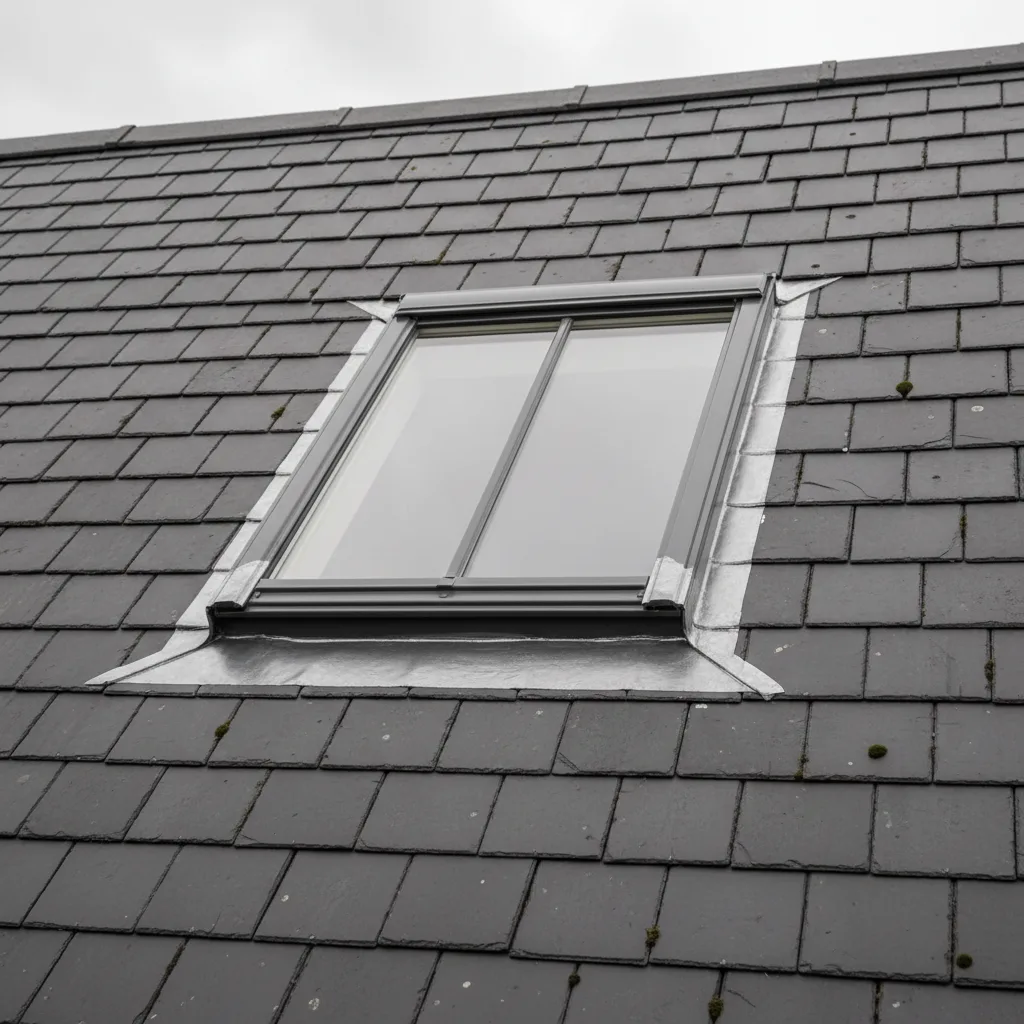
The tolerances we work to are simple. Diagonals within 5mm of each other on a lantern up to three metres. Top surface level within 3mm over any two metre length, checked with a long level rather than a short one. No twist, meaning all four top edges in the same plane, which is checked with a string line corner to corner. A kerb can be dead level in both directions and still be twisted if one corner sits high.
All three are easy to achieve while the kerb is being built and awkward afterwards, which is why we ask to check it before the covering goes on.
Insulating the outside face
The kerb is a timber box standing in cold air with a warm room underneath. Left bare it becomes a continuous cold bridge around the entire perimeter of the opening, and the first sign of it is a line of condensation on the plasterboard reveal in January.
The insulation on the flat roof has to continue up the outside face of the kerb without a break, meeting the underside of the lantern frame. Typically 25mm to 50mm of rigid board, cut to fit, taped at the joints. The critical point is the junction where the roof insulation turns the corner and goes vertical. A gap there is a straight line from inside to outside, and it will be found by moisture before it is found by anyone else.
Where the covering stops
The membrane, whether it is single ply, felt or a liquid system, comes up the outside face of the kerb and over the top edge, terminating on the top surface under where the lantern will sit. It should never stop part way up the face and it should never be trimmed flush with the top arris.
On a single ply roof the corners are welded, not folded and hoped for. On a liquid system the reinforcement fabric has to be continuous around the corner. On felt the upstand is a separate piece with a proper lap and a welt at the top. These are the details that decide whether the lantern stays dry, far more than any sealant applied later.
Fixing the lantern down
A lantern is not held on by weight or by sealant. It is mechanically fixed through its perimeter frame into the timber top of the kerb, at centres given by the manufacturer, usually every 400mm to 600mm and always within 150mm of a corner.
Between the frame and the kerb there is a continuous bed of low modulus silicone or a butyl tape, compressed by the fixings. That bed is a secondary line of defence, not the primary one. The primary defence is the kerb height and the covering termination. If a lantern relies on its bedding to stay dry, it will eventually not stay dry.
The timber under those fixings needs to be solid. A kerb faced in 9mm ply with fixings landing in the ply alone is not adequate. We want at least 18mm of timber, or a solid section, behind every fixing line.
Timber kerbs and what goes wrong with them
The common faults are predictable. Untreated softwood used where it can get damp. A top surface made of two pieces of board with a joint that is not flat. Corners nailed rather than screwed, so the box racks when it is lifted into position. Insufficient depth of timber for the fixings. And the frequent one: a kerb built to the internal dimension when the lantern needed the external.
Use treated timber throughout, screw the corners, use a single continuous board for the top, and build it in place rather than lifting a finished box onto the roof. A kerb built flat on the ground and carried up loses its squareness on the way.
Factory insulated kerbs and when they pay
A proprietary insulated kerb arrives as a rigid box with the insulation bonded on, a moisture resistant outer skin, and a machined top. It removes the entire question of who insulates the outside face, because it arrives insulated.
They earn their money in two situations. Where the extension is being built by a general builder without much flat roof experience, and where the lantern is large enough that a site-built kerb of that size is difficult to keep square. On a modest lantern with a competent carpenter, a well-built timber kerb is entirely satisfactory and costs less.
Warm roofs and cold roofs behave differently
On a warm roof, the insulation sits above the deck and the whole structure is inside the thermal envelope. The kerb insulation simply continues the line, and there is no ventilated void to think about.
On a cold roof, the insulation is between the joists and there is a ventilated air gap above it. The kerb then passes through that ventilated zone, and the insulation has to be arranged so the vented void continues around the opening rather than being blocked by it. Blocking the cross ventilation at a lantern opening on a cold roof produces a damp deck at the back edge within a couple of winters.
Almost every new extension roof in Oxford is built warm. Older flat roofs being adapted for a lantern are frequently cold, and that changes the detail.
When the fall runs into the kerb
A flat roof is laid to a fall, usually 1:80 as designed and 1:60 as built to allow for deflection. If the fall runs towards the lantern, water arrives at the upslope face and has to get around it.
The answer is either to design the falls so water is shed to either side of the opening, using tapered insulation cut to a scheme rather than a uniform slope, or to increase the kerb height on the upslope face so the water line stays well below the frame. On a wide lantern set across the fall, this needs drawing. Guessing produces standing water against the kerb, and standing water against a vertical junction is the one condition every flat roof detail is trying to avoid. Our note on lanterns on roofs with no fall covers the worse version of this problem.
The inside face and the reveal
Below the kerb is a reveal, which is the depth of the opening seen from the room. It is typically 200mm to 350mm deep once the roof build-up and the kerb are added together, and it is plasterboarded and skimmed as part of the ceiling.
Two decisions are worth making early. Splaying the reveal outward, so the opening is wider at ceiling level than at the glass, throws noticeably more light into the room and softens the shadow line. It costs a little more in framing. And the insulation must continue behind that plasterboard, or the reveal becomes the coldest surface in the room and collects condensation, which is the subject of our page on condensation in a kitchen lantern.
What to agree before anyone orders
Put five things on paper. The external kerb dimensions, stated as external. The kerb height above the finished roof surface, stated as finished. Who builds it and by which date. The insulation specification on the outside face. And who checks it for square before the covering goes on.
We quote on that basis: a range by email from the drawings, then a fixed price once we have measured the built kerb or seen the detail it will be built to. If you want the kerb specification written for your builder before the roof is closed, call 01865 704245 and we will send it. It costs nothing and it removes the one item on a lantern job that reliably falls between three trades.
Four steps, no surprises
Survey
We look at the roof, the covering and the slope before we say anything about price.
Specification
The right unit and glazing for that roof and that orientation, in plain terms.
Fixed quote
Written, itemised and firm. The number does not move once work starts.
Install
Opening formed, unit set and weathered, covering made good. Notification is ours.
Helpful reading on this
Costs, comparisons and the questions we are asked most.
Tell us about your roof
We start with the building, the covering and the slope. Then we tell you what will suit it, and what it will cost, as a fixed written number.
- Surveyed before it is priced
- 10-year workmanship guarantee
- Building Control notification handled
- New installations and replacements