
A rooflight asks very little of you, and almost all of what it asks takes under an hour a year. This guide sets out what that hour consists of, when to do it, what to use, and the few things worth watching for that turn into something larger if they are ignored. It also covers the parts you should not attempt yourself, and why.
The annual hour
Once a year, ideally in autumn before the weather turns, five things are worth doing.
Clean the glass inside and out. Clear the drainage channels and the gap around the sash. Vacuum or brush the air filter if the unit has one. Wipe and lubricate the hinges and the friction stays. Look at the seals and the external frame finish, without doing anything to them yet.
That is the whole of it on a standard roof window. Doing it in autumn matters because it puts the unit in good order before the season that tests it, and because a blocked drainage channel discovered in October is a nuisance while the same channel discovered in January is water on your ceiling.
Cleaning the glass, and reaching the outside
The inside is straightforward: warm water with a little washing-up liquid, a soft cloth, and a dry microfibre cloth to finish. Nothing abrasive, no scouring pads, and no scrapers. A scratch in a low-emissivity coating is permanent.
The outside is the question. Most centre-pivot roof windows rotate fully and lock in a cleaning position, which brings the outer face into the room and makes the job safe and easy from inside. If yours does this, use it. There is usually a catch at the top of the sash that holds it in the rotated position, and it exists for exactly this purpose.
Top-hung units generally do not rotate, though some models release to allow it. Where a unit cannot be rotated, clean the outer face with a telescopic pole and a soft head from ground level where the geometry allows.
What nobody should do is climb onto a roof, or lean out of an opening at height, to clean glass. Roofs are the commonest site of serious accidents in domestic maintenance, and the value of a clean pane does not come close to justifying it. If the outside cannot be reached safely from inside or from the ground, that is a job for somebody with the right access equipment.
What to use, and what to avoid
Warm water and a mild detergent handle almost everything. For stubborn marks, a proprietary glass cleaner is fine on plain glass.
Avoid abrasives of any kind, including cream cleaners and the rough side of a sponge. Avoid solvents and anything containing acetone on frames and seals. Avoid pressure washers entirely; the jet drives water past seals that were designed for rain rather than for a lance held at close range, and it is a reliable way to make a sound rooflight leak.
Self-cleaning coated glass needs different treatment. It works with daylight and rain, breaking down organic dirt and letting water sheet off rather than bead. Detergent leaves a film that stops it working, so it should be cleaned with plain water only, and it should not be cleaned unnecessarily. If your unit has this coating, the manufacturer’s handover documentation will say so.
The drainage channels, which are the part that matters
This is the maintenance task that actually prevents problems, and it is the one nobody knows about.
A rooflight is not sealed shut like a sealed unit. It is designed on the assumption that a small amount of water will get past the outer weather seal in driven rain, and there is a drainage channel around the frame to collect that water and take it back outside. The system works perfectly and quietly for as long as the channel is clear.
What blocks it is leaves, moss, dust, pollen and the debris that collects in the gap between sash and frame. Once the channel is blocked, water collects where it was meant to drain, backs up, and eventually finds its way inside. The owner reports a leak. The unit is doing exactly what it was designed to do, apart from the part that is full of leaf litter.
Open the unit fully, and with a soft brush and a vacuum clear the groove that runs around the frame and the gap the sash closes into. Pay attention to the bottom corners, where debris gathers. It takes a few minutes and it is the single most useful thing you can do for a rooflight.
Houses under trees need this more than once a year. Anywhere near a mature lime, sycamore or oak, twice a year is realistic, in late autumn once the leaves are down and again in spring after the blossom.
Air filters
Many roof windows have a ventilation flap at the head with a filter behind it, which lets air in with the sash closed and stops insects and dust coming with it.

The filter clogs. When it does, the ventilation stops working, which contributes to condensation in a room that used to be fine. It is usually a strip of foam or mesh that pulls out for cleaning under a tap, or slides out for replacement at negligible cost.
Anybody whose rooflight has started showing more condensation than it used to should look here first, before concluding the unit has deteriorated.
Moving parts
Hinges, friction stays and catches wear, and they wear faster if they are dry.
A light spray of a suitable lubricant on the hinges and the friction stays once a year keeps the sash operating smoothly and stops the stay from either dropping or seizing. Wipe off any excess so it does not run onto the glass or the frame.
A sash that has become stiff, or one that no longer closes evenly against its seal, is telling you something. Sometimes it is a dry hinge and sometimes it is the frame moving, and the difference matters. A unit that does not close evenly is not compressing its weather seal along its whole length, and that is how driven rain gets past.
Seals, and the honest position on them
The weather seal around the sash is a rubber or synthetic strip, and it does harden and shrink with age and ultraviolet exposure.
Keep it clean and wipe it occasionally, which is all it needs for most of its life. On some manufacturers’ units the gasket is a replaceable part and can be changed when it hardens; on others it is bonded in and cannot.
What you should not do is treat a deteriorating seal with silicone or with any sealant. It does not restore the seal, it prevents the sash closing properly, and it makes any later work considerably more difficult. If a seal has genuinely failed, the answer is the correct replacement part or, on an older unit, an honest conversation about the age of the whole thing.
Timber and finishes
A timber-framed rooflight has a factory coating with a service life, and it needs recoating on a schedule rather than when it starts to look tired.

Inside, the interval is long, typically many years, because the timber is protected from weather and ultraviolet. Outside, on the parts exposed to the sky, it is shorter, and a south or west-facing unit weathers faster than a north-facing one.
The sign to act on is the coating losing its sheen and starting to look dry, not the timber going grey. Once grey, water has been getting into the surface for some time and the preparation becomes a much bigger job. Recoating on time is a light sand and a coat; recoating late is stripping back to bare timber.
Use the manufacturer’s recommended system. Ordinary household gloss or a general exterior paint on a rooflight frame traps moisture in the timber rather than letting it breathe, and it accelerates exactly the decay it was meant to prevent.
Polyurethane-coated and aluminium-clad units need none of this. Wipe them and leave them alone.
What to look at from the ground twice a year
Five minutes with a pair of binoculars, in spring and autumn, is worth doing on any rooflight.
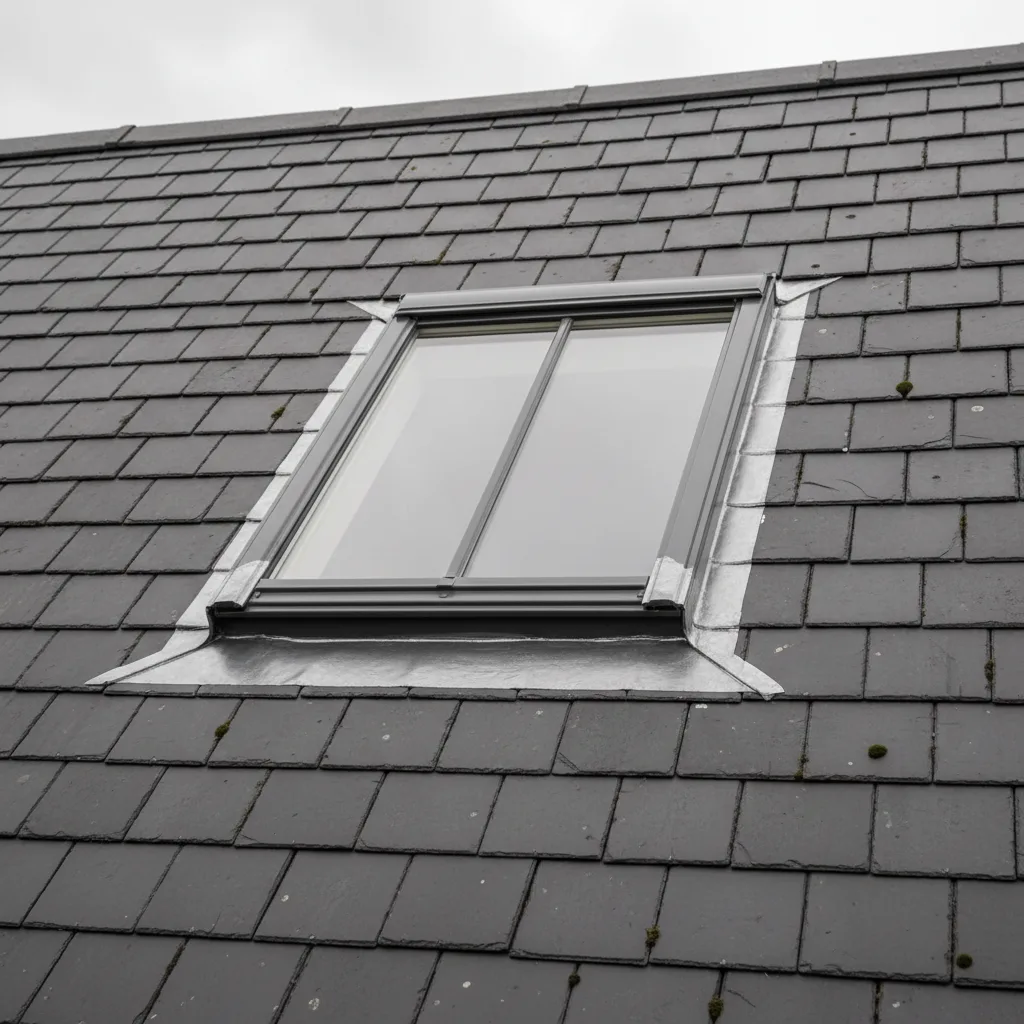
Look at whether the tile or slate coursing around the unit still runs true, or whether anything has slipped. Look at the lead or flashing for splits, particularly at the corners and along any long run. Look for moss building up on the slope immediately above the unit, which channels water in ways the detailing did not anticipate. Look for staining below the flashing on the covering. Look at whether the sash sits evenly in its frame when closed.
None of these is an emergency and all of them are cheaper attended to early than left.
Blinds, motors and controls
Anything powered adds a small amount to the annual hour.
Blind fabric collects dust and is cleaned with a soft brush or a vacuum on low, not with water, which marks most blind fabrics permanently. Blind side channels collect the same debris as the drainage channels and cause the same sticking.
Electric units have a chain or a rod actuator that benefits from being run through its full travel occasionally, even in winter when nobody wants the window open. A mechanism left unused for a year at a time is the one that binds. Battery-operated remote controls and rain sensors have batteries that eventually go, and a unit that has stopped responding is far more often a flat remote than a failed motor.
Rain sensors themselves need their sensing surface kept clean, because a sensor covered in dust and pollen becomes steadily less sensitive and eventually stops closing the window when it should.
A seasonal rhythm that works
| When | What | Why then |
|---|---|---|
| Early autumn | The full annual hour: glass, channels, filter, hinges, inspection | Gets the unit in order before the weather that tests it |
| Late autumn, under trees | Clear the drainage channels again | Leaves are down and this is when channels block |
| Midwinter | Nothing outside; note any condensation pattern | The cold weeks are when a build-up fault reveals itself |
| Spring | Glass, channels after blossom, ground inspection with binoculars | Pollen and blossom block channels as effectively as leaves |
| Summer | Run electric units through full travel; check shading works | Finds a binding mechanism before you need it |
| Every few years | Recoat exterior timber per the manufacturer’s system | On schedule is a light sand and a coat; late is a strip back |
What to leave to somebody else
Anything involving standing on a roof. Anything involving lead or flashings. Anything where the sash no longer closes evenly and lubrication has not fixed it. Anything where water is coming in.
Rooflights are at height, on a surface that was never designed to be walked on, above a room with people in it. The maintenance worth doing yourself is all of it done from inside the house or from the ground, and there is a great deal you can do from there. Beyond that line, the sensible thing is to have somebody come with the right access and look properly.
If it is under guarantee
Where we installed the unit, our workmanship guarantee runs for ten years and the manufacturer’s warranty on the product runs alongside it. Neither is affected by ordinary cleaning and maintenance, and both benefit from it, since a blocked drainage channel is not a defect in anything.
What can affect a claim is somebody unqualified working on the perimeter, or a sealant applied over a detail. If something looks wrong, ring before doing anything to it. Looking is free, and it is a much better outcome than finding out afterwards that a well-meant afternoon has complicated a claim that would otherwise have been straightforward.
Four steps, no surprises
Survey
We look at the roof, the covering and the slope before we say anything about price.
Specification
The right unit and glazing for that roof and that orientation, in plain terms.
Fixed quote
Written, itemised and firm. The number does not move once work starts.
Install
Opening formed, unit set and weathered, covering made good. Notification is ours.
Helpful reading on this
Costs, comparisons and the questions we are asked most.
Tell us about your roof
We start with the building, the covering and the slope. Then we tell you what will suit it, and what it will cost, as a fixed written number.
- Surveyed before it is priced
- 10-year workmanship guarantee
- Building Control notification handled
- New installations and replacements