
A loft conversion lives or dies on daylight. The structural work is what costs the money, the staircase is what causes the arguments, and the rooflights are what determine whether the finished room is somewhere people want to be or the box room nobody chooses. This guide covers how many you need, where they go, how the regulations constrain the choice, and the decisions that are impossible to change once the plasterboard is up.
How much glass a loft actually needs
The usual rule of thumb puts glazed area at around a tenth of the floor area for adequate daylight, and around a fifth where the room is a main living space or a home office. In a loft those numbers understate what you want.
A rooflight in a sloping roof plane is far more efficient at delivering daylight than a vertical window of the same size, because it faces the open sky rather than the house opposite. That works in your favour. What works against you is that a loft is usually deep front to back, with the useful floor area concentrated under the ridge, and light from a single opening falls off sharply as you move away from it.
So the useful question is not how much glass but how many positions. Two modest rooflights on opposite slopes produce a better room than one large one on a single slope, every time. Light arriving from two directions removes the harsh shadows and the cave-like feel at the far end, and it gives cross ventilation for nothing.
Where they go, and why the far end matters
The instinct is to put a rooflight in the middle of the wall you look at most. The better instinct is to put light where the room is darkest.
The darkest part of a converted loft is almost always the eaves end furthest from the stair, and the space at the top of the stair itself, which is enclosed by the stairwell and often has no glazing near it at all. A rooflight over the stair head transforms the arrival into the room, and it is the position most often left out because it is not in the room proper.
Head height governs the vertical placement. The bottom of the rooflight wants to be low enough that somebody sitting can see out of it, which usually means the cill sits around 900mm to 1100mm above the finished floor. The top wants to be high enough to throw light deep into the room, which argues for a taller unit rather than a higher one.
There is a trade-off in that. A unit set low gives a view and makes the room feel connected to outside. A unit set high gives better light distribution and more privacy. In a bedroom, low usually wins. In a bathroom or an office, high usually does.
Escape, and the rule that catches people out
This is the regulation most likely to change your plans, so deal with it early.
A loft conversion in a two-storey house creates a third storey, and that triggers fire safety requirements. In most cases the answer is a protected stairway running the full height of the house, with fire doors to habitable rooms and a clear route to a final exit. Where a protected stairway cannot be achieved, an escape window becomes necessary in the loft itself.
An escape rooflight has to meet specific dimensions: a clear opening of at least 0.33 square metres, with both height and width at least 450mm, and the bottom of that opening no more than 1100mm above the floor. It also has to open far enough and stay open, which in practice means a top-hung or centre-pivot unit with an escape function rather than a standard one.
The consequences run backwards through the design. An escape unit has to be reachable, so it cannot be over the stairwell or behind a wardrobe. It has to be a particular size, so it may not be the size that suits the elevation. And it costs more than a standard unit of the same dimensions. Establishing whether you need one is the first conversation, not the last.
Top-hung against centre-pivot
A centre-pivot unit rotates about its middle, so the top half swings inward as the bottom half swings out. It is cheaper, it is easy to clean because the sash rotates fully, and it can be operated from a distance with a pole. Its drawback is that the inward-swinging top half occupies the space in front of it, so you cannot stand directly at the window when it is open, and it cannot serve as an escape opening.
A top-hung unit hinges at the top and pushes outward, leaving the whole opening clear. It gives a better view because nothing crosses it, it lets you stand at the opening, and it can meet escape requirements. It costs more and cleaning the outside means reaching out or, on some models, releasing the sash to rotate it.
The pragmatic answer in most conversions is a top-hung unit where escape or view matters and a centre-pivot elsewhere. Fitting all one type for the sake of matching ironmongery is how people end up unable to stand at the only window with a view.
The structure below the covering
What kind of roof you have determines how much freedom you have with positions, and it is the first thing established at survey.
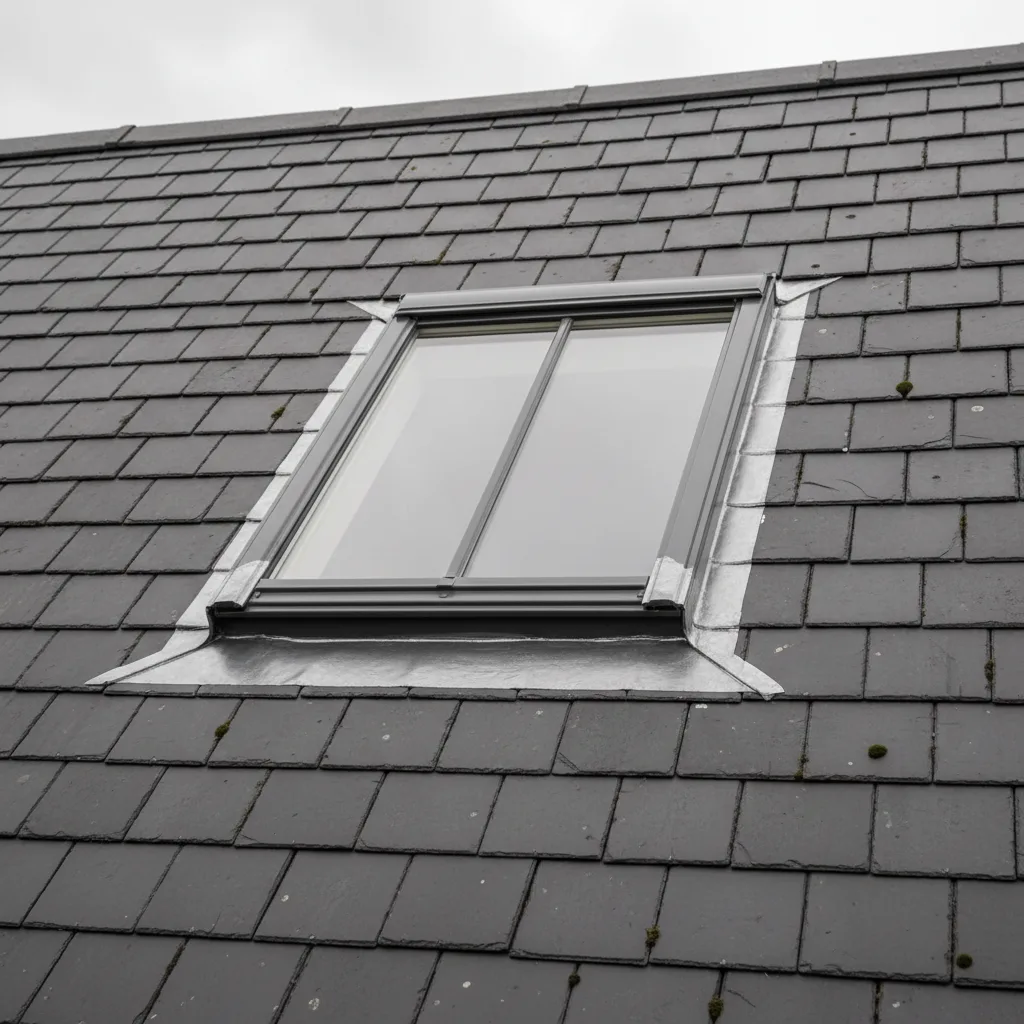
A traditional cut roof, hand-built on site with rafters, purlins and struts, is found on most houses built before the mid-1960s and on a great deal of Oxfordshire’s older stock. It is the easier one to work with. Rafters can be trimmed and the openings placed with reasonable freedom, subject to the purlin positions and to a structural design where the opening is wide.
A trussed roof, prefabricated and craned in, is standard on later houses and on the post-war estates around Oxford. The diagonal webs inside a truss are structural and cannot be cut without a designed alteration. Converting a trussed loft usually means replacing or modifying the trusses entirely, which is a substantial engineering exercise, and the rooflight positions follow the new structure rather than the other way around.
Neither situation prevents a conversion. They change the order of decisions. In a cut roof you can place light where the room wants it; in a trussed roof the structure is designed first and the openings go where it permits.
Insulation, and why the reveal is where it goes wrong
A loft conversion turns a ventilated cold roof into a habitable insulated space, and the rooflight sits at the junction of the two.
Insulation has to be carried tight to the frame on all four sides, without gaps and without being crushed. The vapour control layer has to be sealed to the frame continuously. The reveal has to be insulated, not just boarded, because an uninsulated reveal is a cold bridge running right around the opening.
Get this wrong and the room delivers streaming water down the plaster in January. The owner concludes the rooflight leaks, an installer visits on a dry day and finds nothing, and the argument continues for a season. It is condensation, and it is entirely a build-up problem.
Splayed reveals, and the cheapest improvement available
The reveal is the depth of construction between the rooflight frame and the room. In a loft that depth is considerable, because the rafters are deep and the insulation is deeper.
Boxed square, that depth acts as a tunnel and pinches the light. Splayed, so that the plaster opens outward from the frame into the room, it acts as a reflector and throws light down and across.
The convention is to splay the head vertically and the cill horizontally, so that light is directed down into the room while the cill gives a level surface. The difference this makes to a room is out of all proportion to what it costs, which is a few extra hours of plastering. It is the single best value decision in the whole conversion, and it is the one most often taken out to save money.
Overheating, which is the complaint we hear most
A converted loft is at the top of the building, under the roof, with the largest solar exposure in the house and the least thermal mass. It gets hot. Adding glass to it aimed at the summer sky can make it uninhabitable in July.
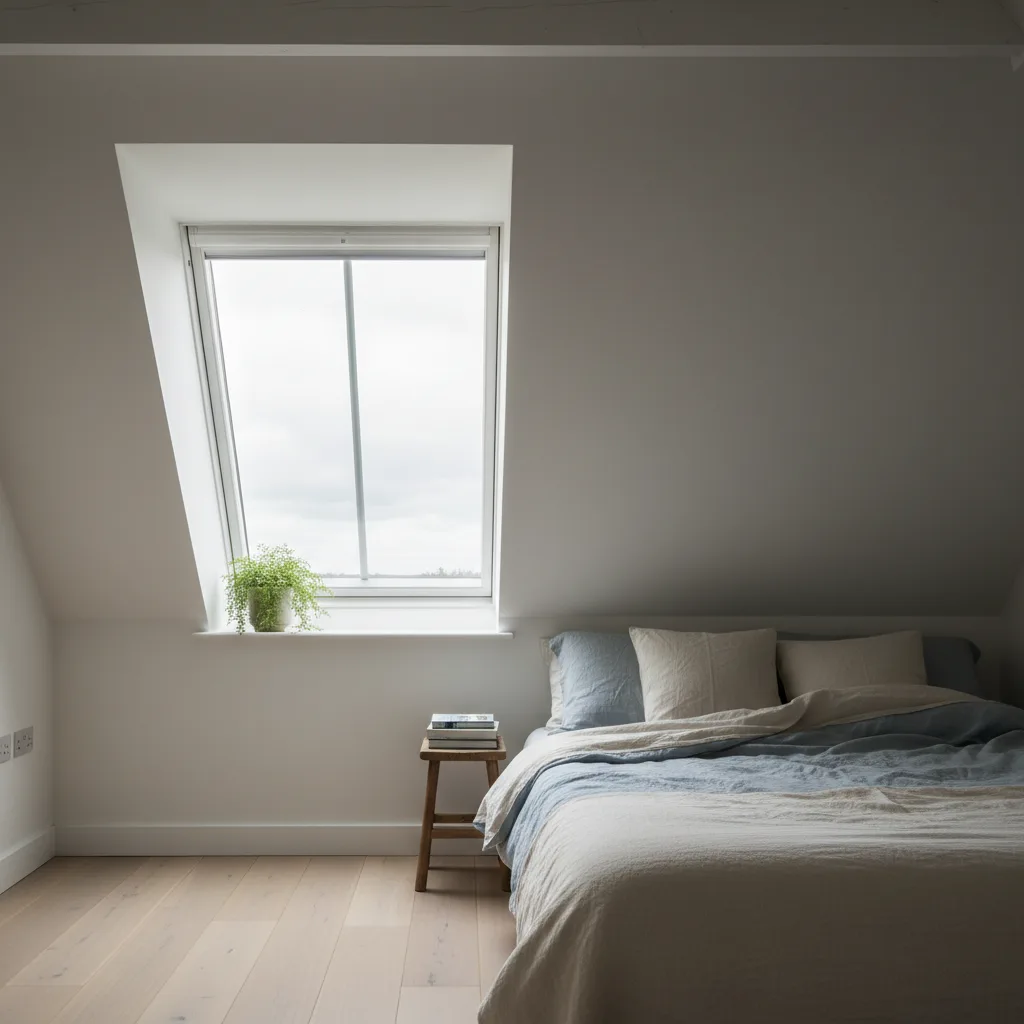
The specification has to answer this at order. On a south or west-facing slope, solar control glazing with a g-value in the low 0.3s is the baseline rather than an upgrade. External blinds or awnings are dramatically more effective than internal blinds, because they stop the energy before it enters the glass rather than absorbing it inside the room, and they are far cheaper to fit at installation than to retrofit.
Opening rooflights on both slopes give a stack effect, drawing cool air in low and hot air out high, and that is worth more than any amount of internal shading. It is another argument for two positions rather than one.
Sequence, and what has to be decided when
Rooflight positions are fixed at design stage, before the structural drawings are finalised, because the trimming is part of the structure.
The glazing specification is fixed at order, several weeks before delivery, because coatings and acoustic build-ups are made to order rather than held in stock.
The reveal treatment is fixed before plastering, which is late, but it is genuinely the last chance.
Everything else, blinds, decoration, controls, can be decided afterwards. Anybody who tells you a rooflight position can be moved later is describing a second structural job, not a change of mind.
Rooflights against a dormer
Most loft conversions end up choosing between the two, or combining them, and the choice is usually made on the wrong grounds.
A dormer buys floor area with usable head height, which is the thing lofts are short of. It gives a vertical window, a conventional view out at eye level, and it can carry a larger opening for escape. It also costs several times what a rooflight does, it changes the external appearance substantially, and on a front elevation or in a conservation area it is far more likely to need planning permission.
Rooflights buy daylight rather than space. They sit in the plane of the roof, they usually fall within permitted development on a rear slope, they cost a fraction of a dormer, and they deliver more light per pound than any other option. What they do not do is give you head height or a view of the garden from a standing position.
So the honest test is what the room is short of. If it is dark but tall enough, rooflights answer it completely. If it is short of usable floor area, no number of rooflights will fix that and a dormer is the real answer. A common and sensible outcome is a rear dormer for space with rooflights on the front slope for light, which keeps the street elevation unaltered and is the arrangement least likely to attract a planning objection.
Permission, briefly
Most rear-slope rooflights on an undesignated house are permitted development, provided they project no more than 150mm beyond the plane of the roof and do not sit above the highest part of the roof. That is the ordinary case and it needs no application.
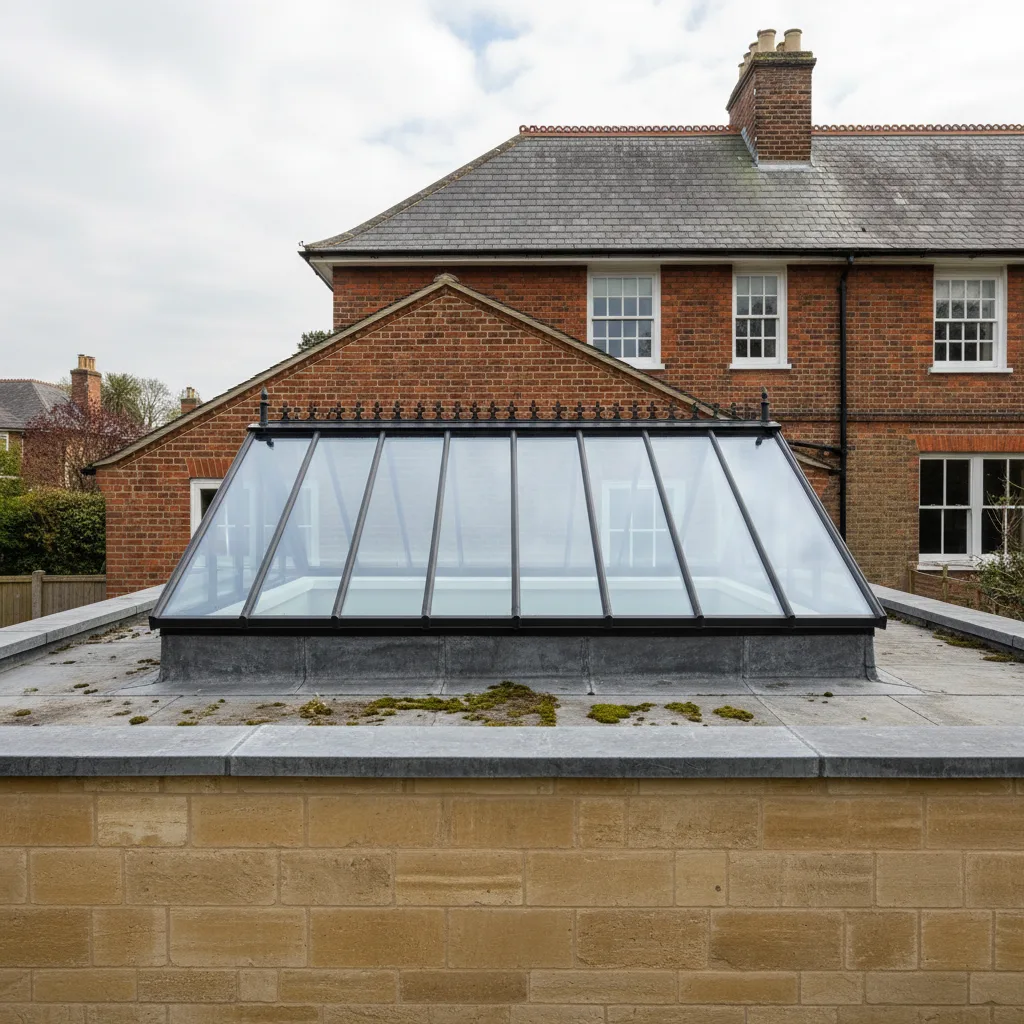
Front-facing slopes, conservation areas, listed buildings and houses that have already used their permitted development allowance are each a different conversation, and each is answered by the address rather than by the product. A designated building will usually still get its rooflights; the unit will be a conservation type sitting flush, and there will be a consent and a wait before anybody starts.
Building Control, and what gets checked
A loft conversion is notifiable work and it will be inspected. The rooflight aspects an inspector looks at are the escape provision and its dimensions, the thermal performance of the units and of the build-up around them, the structural adequacy of the trimming, and the continuity of insulation and vapour control at the junction.
These are the same things a good installer would check unprompted, which is the point. Where our work is part of a wider conversion, we provide the specification and the detail drawings in a form Building Control accepts, so that the rooflights are never the item holding up a sign-off.
Four steps, no surprises
Survey
We look at the roof, the covering and the slope before we say anything about price.
Specification
The right unit and glazing for that roof and that orientation, in plain terms.
Fixed quote
Written, itemised and firm. The number does not move once work starts.
Install
Opening formed, unit set and weathered, covering made good. Notification is ours.
Helpful reading on this
Costs, comparisons and the questions we are asked most.
Tell us about your roof
We start with the building, the covering and the slope. Then we tell you what will suit it, and what it will cost, as a fixed written number.
- Surveyed before it is priced
- 10-year workmanship guarantee
- Building Control notification handled
- New installations and replacements