
For a single-storey flat roof extension, start with a glazed rooflight area of around fifteen per cent of the floor area of the room below, then adjust for how deep the room is, which way it faces, and how much wall glazing it already has. On a typical Oxford rear extension of eighteen square metres that means roughly two and a half to three square metres of rooflight: either one large unit or two medium ones. This page works through how to arrive at your own figure and how to lay the units out. The structural ceiling on how many openings a deck can take is a separate matter, covered on how many rooflights you can put in a flat roof.
The fifteen per cent starting point
Take the floor area of the room the roof covers. Multiply by 0.15. That is your target glazed area, meaning the clear glass, not the structural opening and not the outside dimension of the unit.
A four metre by four and a half metre kitchen is eighteen square metres, so the target is 2.7 square metres of glass. A 1500mm by 1000mm unit gives about 1.3 square metres of glass once the frame is deducted, so two of those land almost exactly on target.
Ten per cent is the point below which a deep room still feels dim at the back. Twenty per cent and above is bright, and starts to bring summer heat and winter heat loss into the conversation. Fifteen is a sound default for an English climate.
Why overhead glass counts for more than a window
A square metre of rooflight delivers substantially more daylight into a room than a square metre of vertical window, and on a dull English day the difference is roughly a factor of two to three.
There are two reasons. A rooflight faces the whole sky dome, which is the brightest thing available, while a window faces a vertical slice of it plus a lot of ground and fence. And a rooflight throws light onto the floor and the far walls rather than into the eyes of somebody standing at the window.
This is why the fifteen per cent figure sounds low compared with what people expect. If you sized rooflights the way you size windows you would badly overglaze the roof, and you would find out in June.
Depth of room, and where daylight from a wall stops
Daylight from a vertical window is useful to a depth of roughly two to two and a half times the head height of that window, and then it falls away quickly.
A set of bifold doors with a head at 2.1 metres therefore lights the first four to five metres of the room reasonably well. Beyond that, the light level drops steeply and the far end reads as gloomy even at midday, especially with a dark floor.
So the practical rule for an extension is that anything deeper than about four and a half metres from the glazed wall needs light from above, and the rooflights belong in the far half of the room rather than near the doors. Doubling up light where there is already plenty is the most common layout mistake.
The dark zone, and how to find yours
Stand in the room, or in the space where the room will be, at eleven in the morning on an overcast day, and walk from the garden doors to the back wall. There is a point where you notice it getting darker. That point is the edge of the dark zone.
In an unbuilt extension you can do the same thing on the drawing. Mark a line at 2.2 times the door head height back from the glazed wall. Everything behind that line is the zone the rooflights have to serve.
Centre the units over that zone, not over the middle of the room. It is the same amount of glass, in a better place, for the same money.
One large unit or several smaller ones
For daylight alone, one large unit beats several smaller ones of the same total area, because it has less frame and it puts a bigger unbroken area of sky above the room.
For structure, several smaller units are usually easier, because each opening can sit within the existing joist spacing and be trimmed conventionally, while a large one may need a steel or a doubled trimmer.
For cost, the curve is not linear. Standard sizes up to about 1500mm by 1000mm are keenly priced. Above roughly two metres in either direction the glass moves into a different weight class and needs a bigger crew and sometimes mechanical lifting, and the price steps rather than climbs. Where that step falls is discussed on flat rooflight standard sizes and made-to-measure.
Our usual advice for an eighteen to twenty five square metre room is two units. It gives even light, keeps every opening within ordinary trimming, and avoids the price step.
Spacing, and the joist grid you have to work with
Joists in a domestic flat roof are typically at 400mm or 600mm centres. An opening that spans a whole number of bays is straightforward. One that lands 100mm into a bay means an awkward trimmer and more work.

So the sensible sequence is to find out the joist spacing and direction first, then choose unit sizes that fit the grid, then confirm the layout. Doing it the other way round, choosing the units from a brochure and then discovering the grid, is where budgets move.
Between two units, leave a solid band of ceiling of at least 600mm. Less than that and the strip between them reads as a shadow line rather than as ceiling, the plasterboard is difficult to support, and the roof above becomes a narrow channel that collects debris.
Orientation, and how much it changes the answer
A flat roof rooflight faces straight up, so it is much less directional than a window. It does not much matter which way your extension faces for daylight purposes.
It matters a great deal for heat. Overhead glazing takes the full summer sun at midday whichever way the house is turned, because in June the sun is high. That is when a roof full of glass becomes uncomfortable.
The mitigation is glass specification rather than layout: a solar control coating with a g-value around 0.3 to 0.4 keeps a good daylight transmission while shedding most of the heat gain. On any scheme going above fifteen per cent, we would treat solar control as standard rather than an upgrade.
Overheating, and the number that is too many
There is a point where more rooflights make a room worse. In our experience it starts around twenty five per cent of floor area with clear glass in a room with limited cross ventilation.
The symptoms are predictable: pleasant in April, unbearable by two in the afternoon in July, and the owner ends up buying blinds that cancel out the daylight they paid for.
If you want a very bright room, get there with solar control glass and generous but not extreme glazed area, and make sure there is a way for hot air to leave at high level. An opening rooflight at the highest point is worth more for summer comfort than any amount of extra fixed glass.
Rooflights and bifolds do different jobs
A wall of glazed doors gives you a view, a connection to the garden, and light in the first few metres. It does not light the back of the room and it never will.
Rooflights give even, top-down light across the whole plan and no view of anything but sky. They also give light in the middle of the day and in winter, when the doors are shut and curtained.
Where a budget will only stretch to one of them being generous, and the room is deep, the rooflights do more for how the space feels day to day. Where the room is shallow and the garden is the point, the doors do. Deciding which of those two describes your extension is more useful than any percentage.
Ceiling depth, splayed reveals and the effective opening
A flat roof build-up of 300mm means the glass sits 300mm above the ceiling plane, and the reveal between them is a tunnel.

A square reveal that deep restricts the spread of light and puts the perimeter of the opening in shadow. Splaying it, so the opening is wider at ceiling level than at the glass, widens the cone of light and softens the edge.
A 45 degree splay on the two long sides of a 1500mm by 1000mm opening in a 300mm build-up adds around 600mm to the width of the light at ceiling level. It costs a few hours of plastering and it changes the room more than an extra unit would. On a deep warm roof build-up we suggest it as a default.
Kitchens, and light where you actually work
Kitchens are the most common use for these rooms and the layout rule differs slightly.
You want light falling onto the worktop and the island, not just into the room. That means a unit set over the working axis rather than over the dining table, because the table is usually nearer the doors and already well lit.
Watch for a run of tall units or a chimney breast casting a shadow onto the worktop from a rooflight positioned behind it. Sketch the kitchen layout and the rooflight positions on the same drawing before either is ordered. It is a five minute exercise that prevents a permanent annoyance.
Structure: what two openings cost against one
Each opening needs trimming: two trimmers across the joists and usually a doubled joist either side. Two openings therefore need twice the timber and twice the labour of one, but each set is smaller and lighter.
One large opening concentrates load into fewer members, and past a certain span those members stop being timber. A three metre clear opening in a flat roof will usually want steel, which brings in an engineer’s calculation, a heavier lift and building control involvement.
For most domestic extensions the crossover sits somewhere around a 2.0 to 2.5 metre opening width. Below that, timber trimming handles it. Above, expect a calculation and a steel. That is not a reason to avoid a large unit; it is a reason to price it properly before falling in love with it.
A worked example on a typical Oxford rear extension
Take a rear extension five metres wide and four metres deep, opening off an existing kitchen, with three metres of glazed doors across the garden wall and a flat roof falling towards the boundary.
Floor area is twenty square metres, so the target is three square metres of glass. The doors light the first four metres or so, which is the whole depth, but the original kitchen behind is dark and the new opening between them is the route for light to reach it.
So the units go towards the house wall rather than towards the garden, lighting the junction between old and new. Two units of 1500mm by 1000mm give 2.6 square metres of glass, sit within a 400mm joist grid, and leave a 900mm band of ceiling between them. Add solar control glass, splay the reveals on the long sides, and make one of the two an opening unit for summer.
Checking your own numbers before you brief anybody
Write down four figures: floor area of the room, depth from the glazed wall to the back, existing glazed wall area, and which way the roof falls. Multiply the floor area by 0.15 and see what unit sizes get you there.
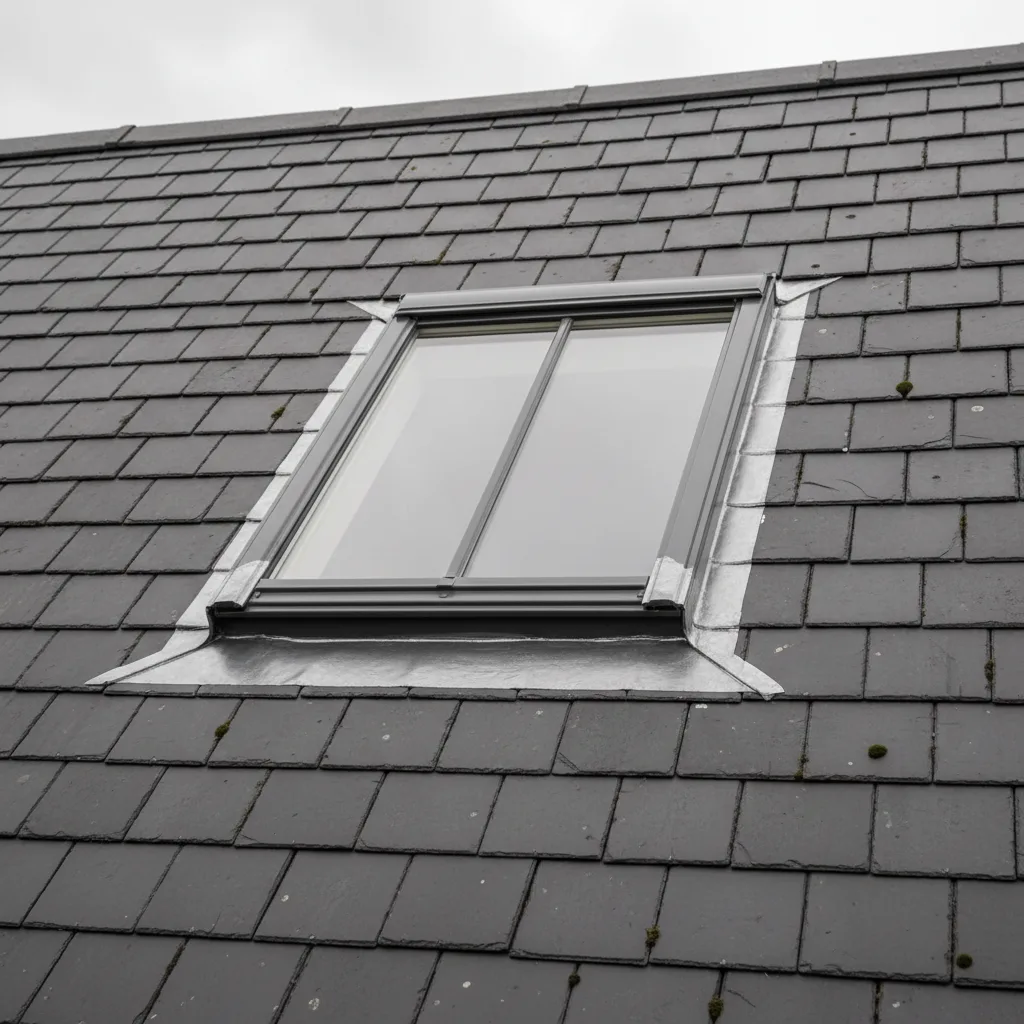
Then look at where your dark zone is and put the glass over it. Then check the joist direction, because it decides how easily the openings can be trimmed and where the ventilation runs.
Bring those four figures to a survey and the conversation starts at the right place. We will give a range by email from them, and a fixed price once somebody has been up on the roof and confirmed the grid.
Four steps, no surprises
Survey
We look at the roof, the covering and the slope before we say anything about price.
Specification
The right unit and glazing for that roof and that orientation, in plain terms.
Fixed quote
Written, itemised and firm. The number does not move once work starts.
Install
Opening formed, unit set and weathered, covering made good. Notification is ours.
Helpful reading on this
Costs, comparisons and the questions we are asked most.
Tell us about your roof
We start with the building, the covering and the slope. Then we tell you what will suit it, and what it will cost, as a fixed written number.
- Surveyed before it is priced
- 10-year workmanship guarantee
- Building Control notification handled
- New installations and replacements